Estimate Your Tenant Improvement Costs in California
How to Use This Calculator Step by Step
This step-by-step process helps users get a clean estimate fast. Follow it in order so your inputs make sense and your cost range stays realistic.
If you want a simple tenant improvement cost calculator California readers can understand, this workflow is the “how-to” section you should place right near the calculator embed.
Step 1: Pick Residential or Commercial
Start by choosing your project type. Residential TI is often lighter work inside a unit. Commercial TI usually involves more coordination, code requirements, and trade complexity.
If you’re estimating an office, retail, restaurant, or medical suite, pick a commercial. This is the best setup for an office tenant improvement cost calculator style estimate.
Step 2: Enter the Correct Square Footage
Enter the area you are actually improving. If only part of the space changes, use the improved area, not the full lease area.
Quick check:
- Improving the whole suite? Use full suite sf
- Only updating the front area? Use that portion’s sf
- Leaving storage untouched? Exclude it if truly unchanged
This one input can move the estimate more than any other number.
Step 3: Choose the Improvement Level
Pick Light, Mid-Range, or High-End based on scope, not just style.
Use Light when you are mostly updating surfaces (paint, flooring, minor repairs). Use Mid-Range when you change layouts or add meaningful MEP work. Use High-End when you add premium finishes, custom work, or significant system upgrades.
If you’re unsure, choose Mid-Range first. Then test Light and High-End to see how sensitive your range is. This is the easiest way to learn how to calculate tenant improvement costs per square foot using a range-based approach.
Step 4: Select Your California Region
Choose the region closest to the job location. This adjusts your baseline for local market pricing.
If you’re comparing two cities, run the calculator twice with the same inputs except region. That gives a quick “market difference” view that helps with budgeting.
Step 5: Select Renovation Type
Choose the renovation type that matches your scope. If your project is specialized (medical, restaurant), pick that option because it better reflects trade intensity and typical compliance needs.
If you’re only doing paint and flooring, cosmetic refresh is usually the correct choice. If you’re changing layout, an open office or whole suite is often closer.
Step 6: Set Property Condition
Be honest here. If the space is older or shows wear, “fair” is safer than “good.” If you already know there are major issues (water damage, uneven floors, old systems), “poor” keeps your estimate realistic.
Condition is one of the biggest reasons early budgets fail. It’s also why a strong tenant improvement buildout cost estimate always includes a buffer.
Step 7: Click Calculate and Read the Range
Your results show:
- Estimated total range
- Estimated cost per sf range
- A midpoint breakdown
Use the low end as a “best case,” and the high end as a “plan-for-this” number. If you need a single planning number, use the midpoint.
Tenant Improvement Cost Calculator in California
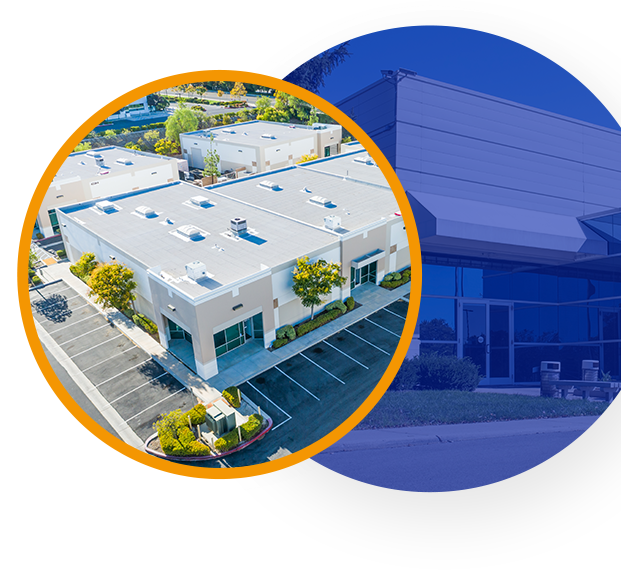
Take Professional Tenant Build-Out Service in Sacramento
Estimating tenant improvement costs is an important first step, but execution is where projects succeed or fail. Layout changes, MEP coordination, code compliance, and inspection approvals must align from day one. Therefore, working with an experienced construction team helps control delays and avoid costly change orders. If you are ready to move from budgeting to construction, explore our tenant build-out service for structured project planning, permit coordination, and high-quality commercial renovations tailored to your space.